Here’s what you’ll need:
– 1 carton (quart) of milk (regular or lowfat- I like Meiji the best.)
– 2 tablespoons of plain, unsweetened yogurt (this is your “starter”- Meiji’s “Sono Mama” works great for this as does Dannon’s “BIO”.)
– Cooking thermometer
– Glass jars with lids
– An oven or heating pad
Here’s what you’ll do:
1. Take the “starter” out of the refrigerator to allow it to come to room temperature.
2. Sterilize the milk by heating slowly on the stove. Stir frequently, especially the edges and the bottom of the pot. Heat until 82-85C. Remove from heat.
3. Cool the milk. In the wintertime, this part is easy. Just leave it out in your freezing cold kitchen for a bit, stirring every once in a while to help things along and prevent a film from forming on the top. Cool to 41-43C.
4. Stir in 2 tablespoons of the “starter” and stir well. Pour the mixture into glass containers and cover with lids (not too tight!).
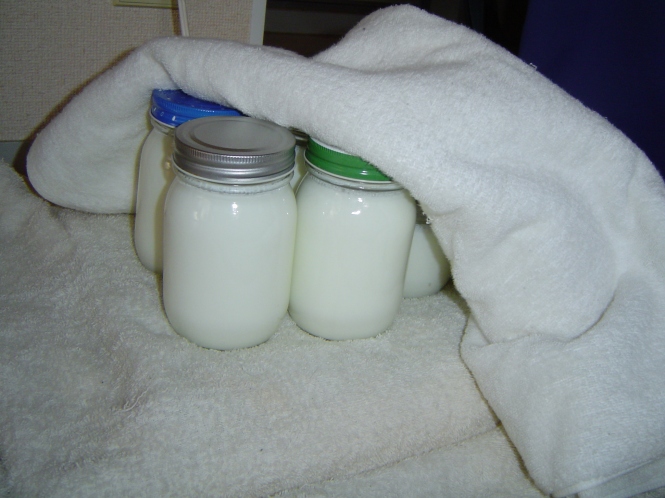
5. Now, the yogurt needs to incubate for 8 hours. If you have a gas oven, place jars in there. The pilot light gives off the perfect amount of heat. If you don’t, you’ll have to improvise a little bit. Here’s what I do: wrap a heating pad in a towel and place on top of a table, counter, or cutting board. Turn heating pad to “low” and place jars on top, close together. Wrap with a towel or two to keep those babies warm. Here are some pics to illustrate:


6. Don’t move the yogurt while it does its thing. After 8 hours, place jars in the freezer for 15-20 minutes. This will give the yogurt a creamier texture. Then, place in refrigerator.
7. Stir before eating to incorporate the whey on top. Now, you can mix in anything you like- fruit, cereal, honey, jam, maple syrup, whatever! As is, this yogurt also makes a great sour cream.
8. Save two tablespoons from this batch to use as a “starter” for your next batch. Do this a few more times, then start over with a new “starter.”
Enjoy!
-Dena
[…] some recommend using an insulated cooler with jars of hot water in there.** I have neither, but the Ishikawa JET Blog, where I first learned about making yogurt, had a solution for Japan: use a heating pad. The post […]